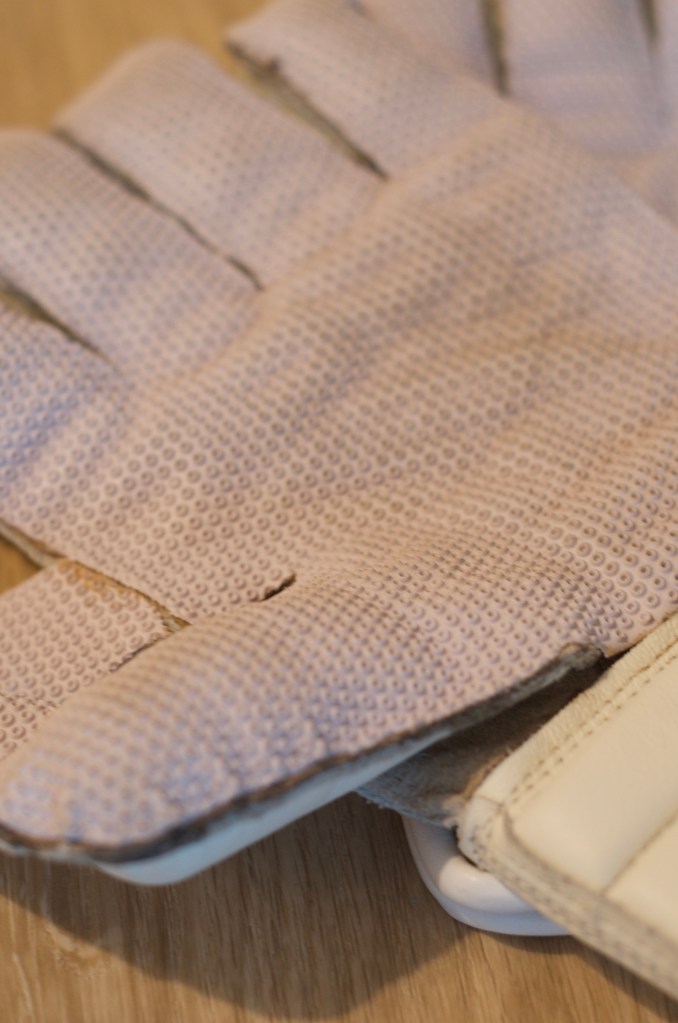

In a recent acquisition, I obtained a pair of wicket-keeping gloves from Classic Keeper, and in hindsight, my only lament is not having made this investment earlier, especially during the time when I was actively immersed in cricket. Although these gloves may be considered slightly more expensive compared to their mass-produced, off-the-shelf counterparts, it’s abundantly clear that this investment pays dividends in the long term. Reflecting on my cricket journey, I’ve likely spent more on cheaper gloves to get to this point. This is truly one of those items that you buy for life.
I must make special mention of Graham, who stands in a class of his own. He was exceptionally pleasant, attentively listened to my preferences, and provided invaluable guidance. The result was a pair of gloves that truly epitomize the phrase “fits like a glove.”
I’d like to share some of the invaluable advice that Graham offered for breaking in these gloves and ensuring their proper care.
Breaking in the Gloves
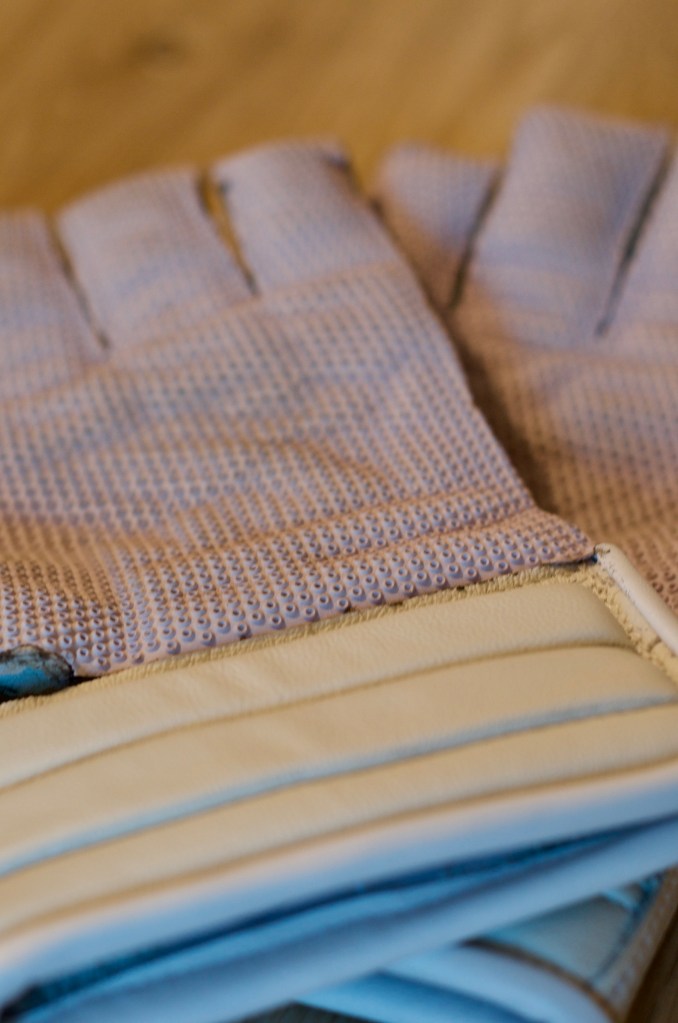
Graham from Classic Keeper, the skilled artisan behind these gloves, has implemented a thoughtful method to preserve their intended shape. The gloves are secured with an elastic band, ensuring they conform to the desired molding and cupping position. Alternatively, they can be rested with palms facing upwards and supported by a book or similar object to achieve the same effect, all without causing any damage.
People often share a common sentiment when it comes to new gloves – they love the idea of owning them but dread the process of breaking them in. Fortunately, Graham’s gloves are designed to strike a balance. They won’t be excessively stiff right out of the box due to the choice of materials, but they will gradually become softer. Nonetheless, the task of softening them remains, alongside the crucial step of molding them into the correct cupping shape.
Graham, during our conversation mentioned the development of a unique palm pattern that diverges from off-the-shelf glove designs. These gloves are meticulously crafted to adapt more naturally to the hand’s creases, ensuring a flatter fit and forming a deeper cup for ball-catching. To initiate the molding process, users are encouraged to bend the gloves from the little finger to the thumb, aligning with the natural one-handed cupping position. Pressing down on the palm to flatten it is essential. If necessary, as the gloves soften and begin to mold, a ball can be employed to shape the gloves around it.
Once the user feels prepared, they can practice throwing the ball from hand to hand. This action further enhances the gloves’ fit and ensures they become precisely as desired. The good news is that this process won’t demand an excessive amount of time; soon enough, Graham’s gloves will conform perfectly to the user’s needs.
How to Look After the Gloves
In the event that your gloves become soiled or scuffed, it is advisable to remember to clean them using a suitable leather treatment. The recommendation here is to employ saddle soap or a leather cream like Horseman’s One Step, which can be conveniently found online. These products not only cleanse the leather but also nourish it, preserving its quality.
Once your gloves have been treated with the aforementioned leather treatment or your preferred alternative, the next step is to give them a polished finish using regular shoe polish. A variety of polish colors, including white, can be obtained from shoe repair shops.
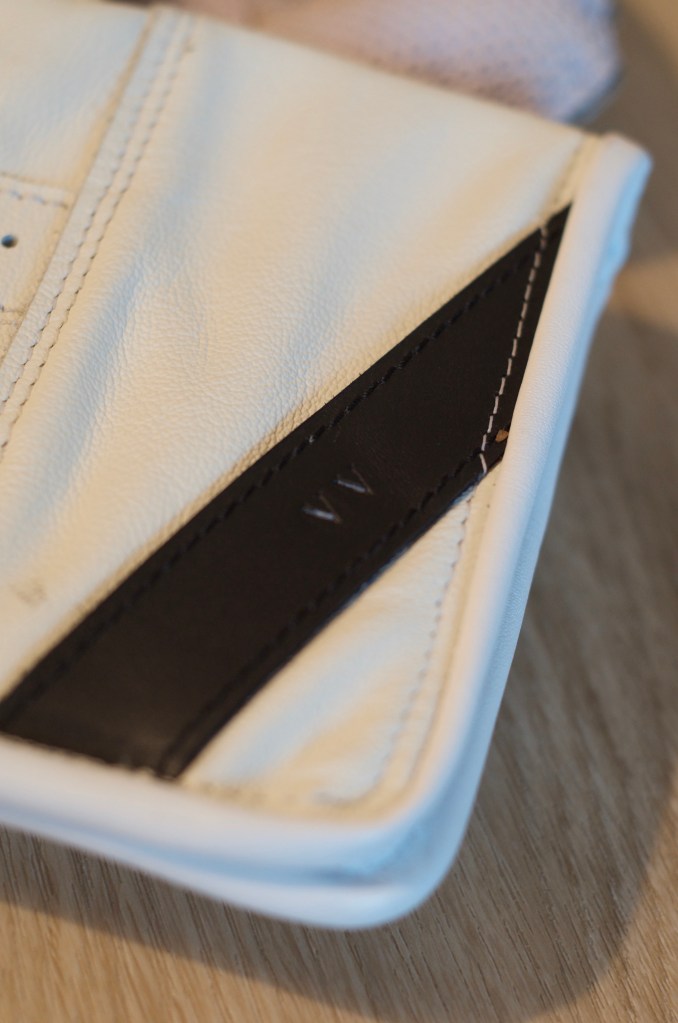
Maintaining a routine of using cleansing leather cream and regular polishing is essential to keep the backs of the gloves supple, especially in the face of exposure to moisture and perspiration. By following these steps, your gloves can withstand the test of time without issue.
It’s crucial to refrain from wearing the gloves for extended periods once the rubber in the center of the palm has worn away. Contact between the ball and the exposed leather may lead to tearing. It’s worth noting that although these gloves are crafted from high-quality cowhide, they remain a natural material and require proper care to prevent deterioration.
Additionally, avoid wearing wet inners as they can lead to lining deterioration and make the gloves stiff as they dry out. Never attempt to secure any loose rubber with superglue, as it can crystallize and adversely affect the leather’s condition.
Your gloves are an investment, and proper care ensures they remain in prime condition for an extended period.
Where can you get yours?
Graham is now found on Instagram @ClassicKeeper1 or on his website


